
I started off by adding the two sides on to the pieces. I had to measure these out and cut them exactly to size. I then had to use a straight stitch and attach them 1/4 of an inch away from the side. This took a little bit of practising as I kept going to close to the edge. The shiny side of the material had to be faced down as the material opens out.
This was very stressful as I got really frustrated with measuring all the material. I had to get this all done so that I could get on with the sewing.


As you can see in the image above the flaps at the side open out. This shows that my patches are coming together. This was a lengthy process as I had to make sure that the pieces of material were in the right place.
I did it in rows of three and then was going to attach the three rows at the end. Each of the patch pieces needed four sides.

Here, you can see that I have attached the centre piece onto one of the other images. Once I started to get into a flow, this process became more easy. As more patches were sewn together, it was a little bit harder using the sewing machine as the quilt started to get a bit heavy.

Here, you can see that I have attached the centre piece onto one of the other images. Once I started to get into a flow, this process became more easy. As more patches were sewn together, it was a little bit harder using the sewing machine as the quilt started to get a bit heavy.

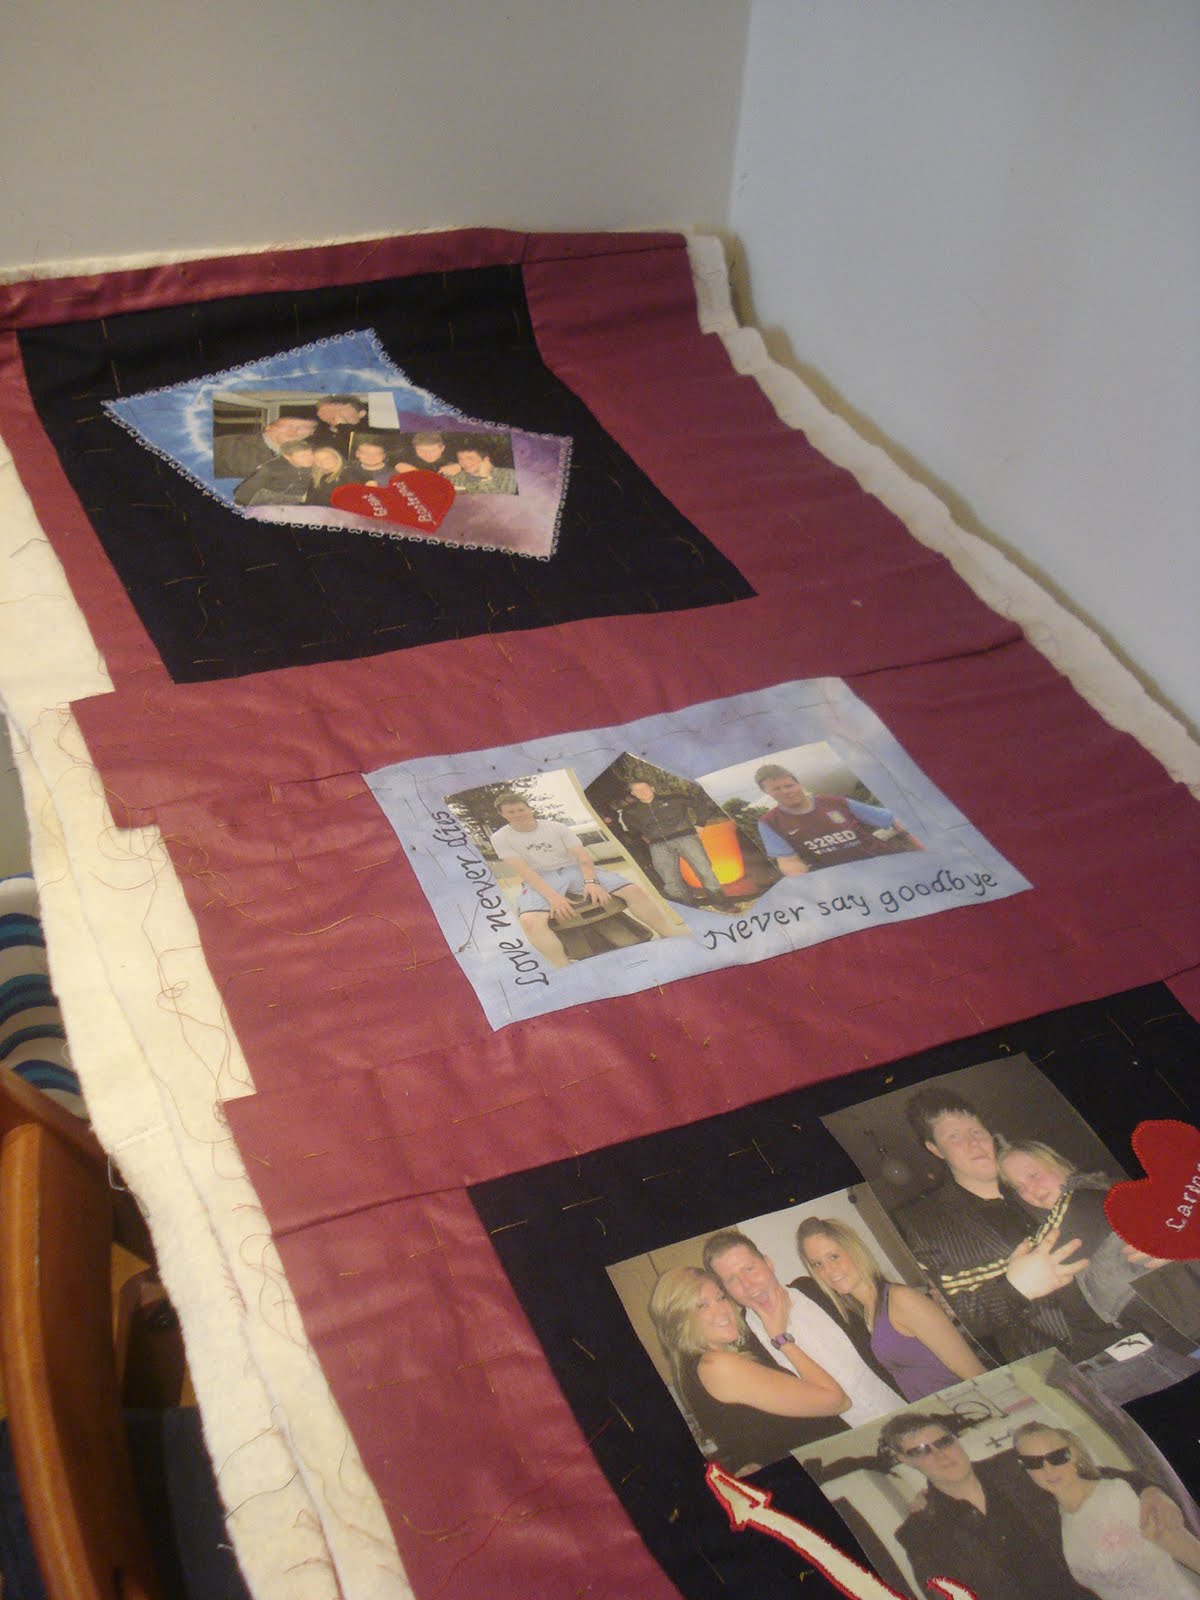
Once I had sewn all of the patches together in their rows, I had to attach a wadding to the back of the material. I had to lay the backing onto the carpet and using masking tape to hold the material out straight. I then lay the wadding over the top of the black material and put masking tape over that. I lay my patches over the top of this and again held them down with masking tape.
I then had to tack all of the rows. This was so that all of the layers were held together so that when I sewed the images, they would stay together. The tacking was only temporary and the tacking would be moved later on.

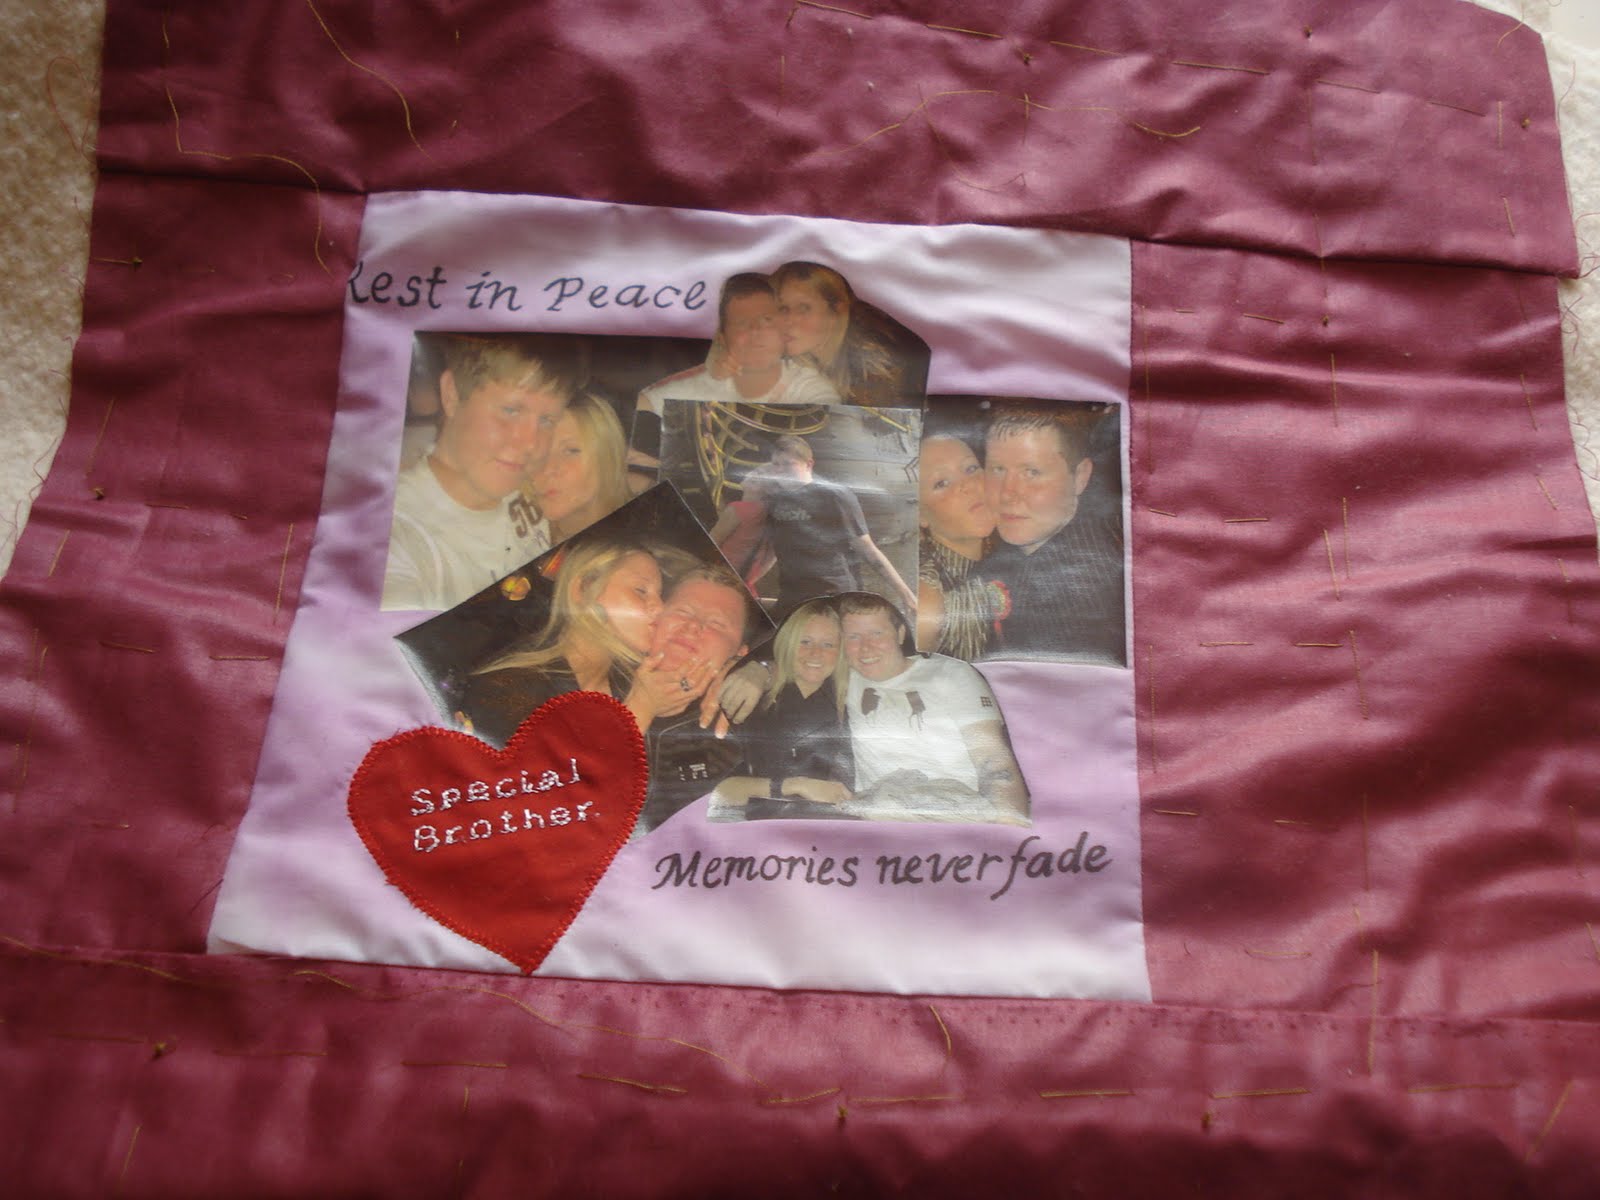
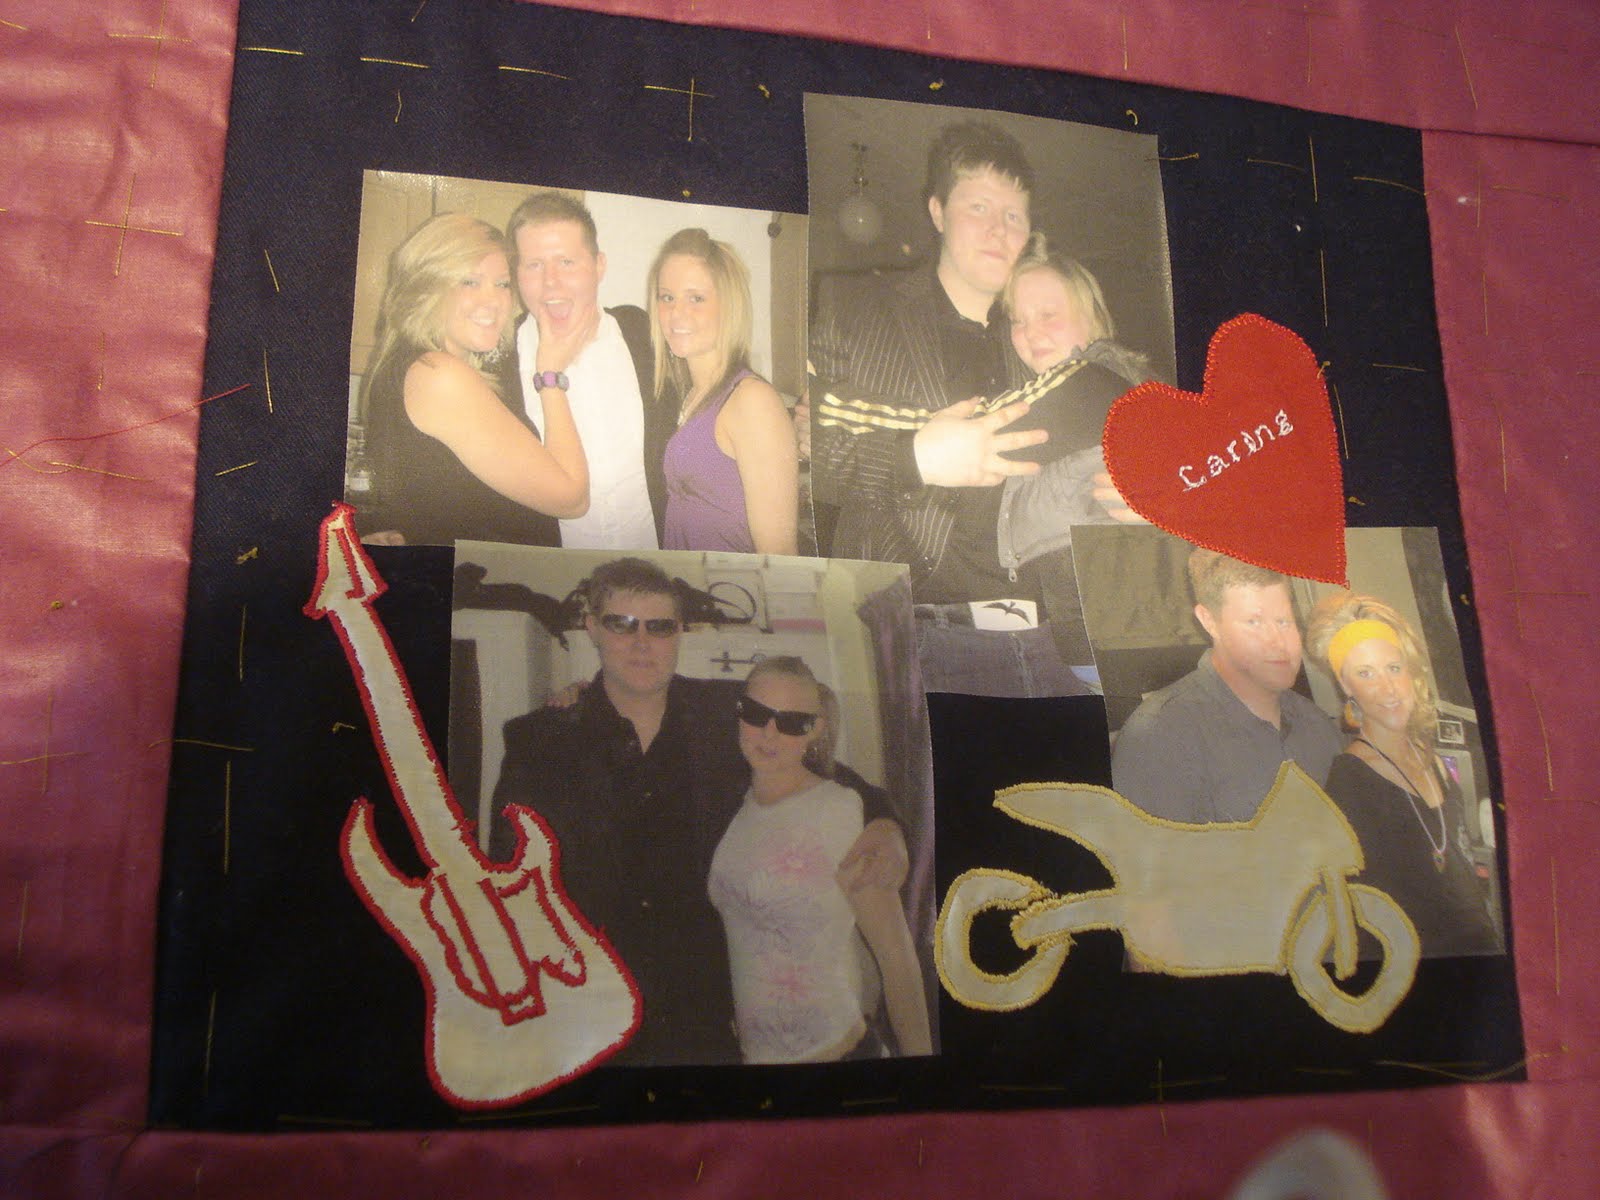
I needed to make sure that the three layers were securely together. I went around each of the photographs with a straight stitch with a 3 cm length. This was to secure the images together. This again was a lengthy process but with time and patience this was completed. I made sure I used similar cottons to the material so that you could not really see the stitch.

The next step was to put the rows together. This involved me attaching more flaps onto each of the rows and stitching them together again. This was difficult as the quilt was heavy and my sewing machine is only small.


I could not use a normal foot on my sewing machine as the foot would not have gone through all three layers. I had to use a quilting foot which looks like the foot above. This was easy to put into the machine and was simple to set up.
This foot allowed me to work through three layers and held the stitches securely.

No comments:
Post a Comment